Difference between revisions of "How to use MetaMask"
From CoinWiki
(→Using MetaMask) |
|||
| Line 26: | Line 26: | ||
== Using MetaMask == | == Using MetaMask == | ||
| + | * Click the little fox emblem at the top right of your browser to open up MetaMask | ||
| + | [[File: |center|750px]] | ||
| + | |||
| + | * From the main screen you are able to send/deposit Ethereum, see your recent history and see your current network. | ||
| + | |||
| + | === Changing Ethereum Networks === | ||
| + | * If you click on the 'Main Ethereum Network' dropdown, you can see the different networks that you can connect to. | ||
| + | [[File: |center|750px]] | ||
| + | |||
| + | You are given several testnet options to choose from for testing [[smart contract]]s without using real Ether: | ||
| + | * [[Ropsten]] | ||
| + | * [[Kovan]] | ||
| + | * [[Rinkeby]] | ||
| + | * Localhost 8545 | ||
| + | * Custom RPC - For use with the one-click blockchain [[Ganache]] | ||
| + | |||
| + | === Depositing Ethereum === | ||
| + | * You can buy Ethereum from [https://www.coinbase.com/join/5abe7a0e814fb403fbb7d03f Coinbase]. You can follow [https://coin.wiki/index.php?title=How_to_buy_Bitcoin this guide] to set up an account on Coinbase. | ||
| + | |||
| + | * Once you have bought Ethereum, go to the 'Accounts' tab in Coinbase and click 'Send' by your Ethereum address. Copy in your MetaMask address and click 'Send'. | ||
| + | |||
| + | * You can copy your Ethereum address from MetaMask by clicking the 'Account 1' near the top of the page. Your Ethereum address will automatically be copied to your clipboard. | ||
| + | [[File: |center|750px]] | ||
| + | |||
| + | === Sending Ethereum === | ||
| + | |||
| + | === Adding ERC20 tokens === | ||
Revision as of 16:21, 28 March 2019
This is a guide on how to setup and use the MetaMask browser extension.
Contents
Installation
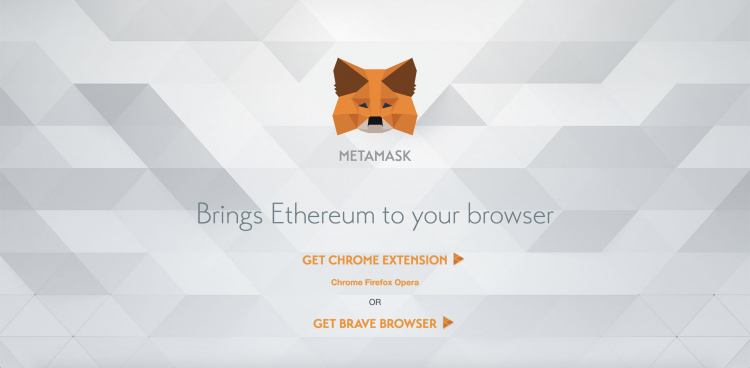
- Go here to go to MetaMask's main page and click the 'Get Extension' button.
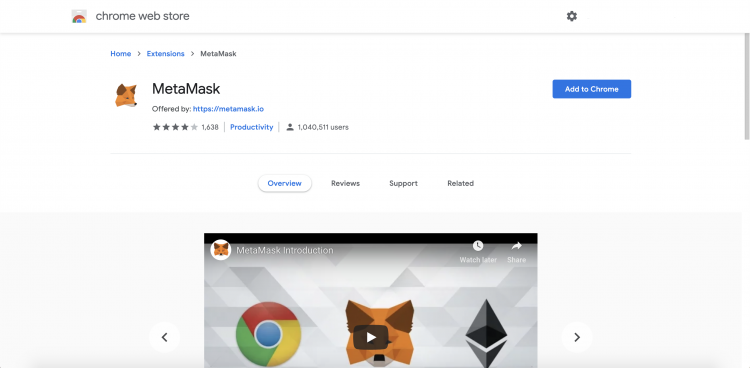
- Next click the 'Add to Chrome' button to add the extension to your browser.
- You should see the extension added to the top right of your browser.
Setting up MetaMask
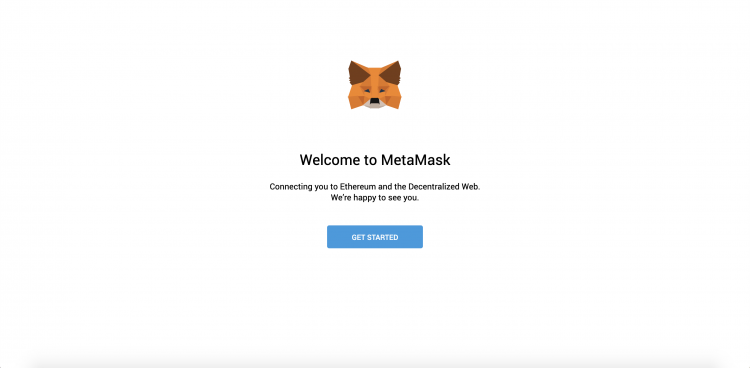
- Once the extension is added you will be brought to the MetaMask start page. Click 'Get Started' to begin.
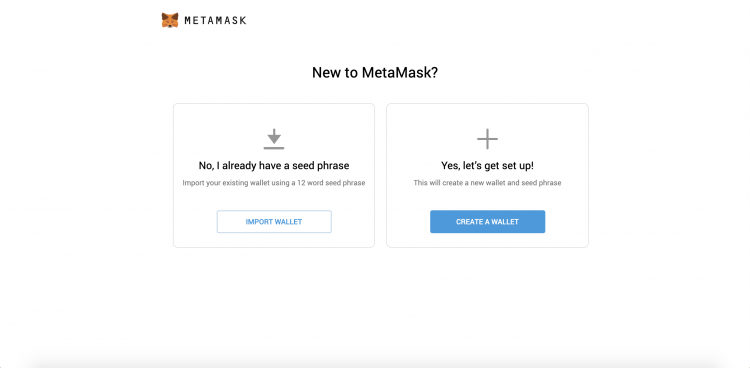
- Next click 'Create a Wallet'. You will be asked if it's of for MetaMask to gather analytics from your use. You can go ahead and press 'No Thanks'.
- You will then be prompted to create a password. Enter your password, confirm it , check the 'terms of use' box and then press 'Create'.
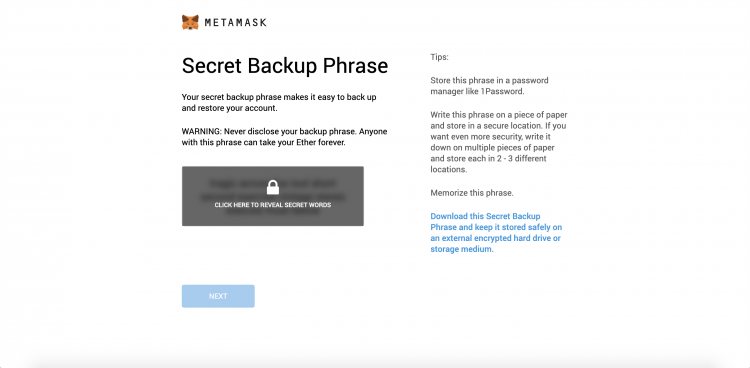
- Next you will need to copy down the secret backup phrase. Make sure to store it in a safe place!!
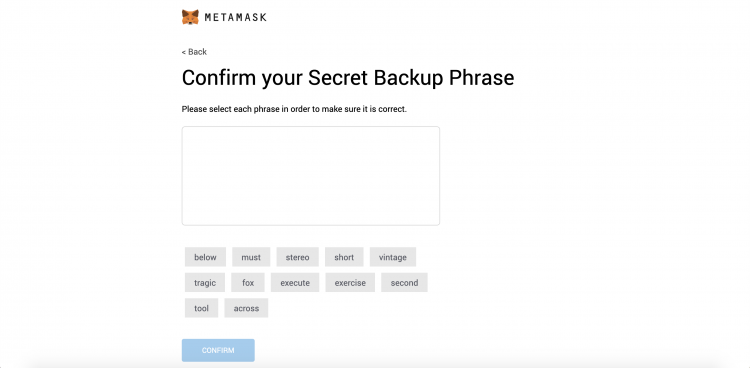
- On the next page you will have to confirm your seed phrase. Click the words in the order of your phrase. Then click 'Confirm' then click 'All Done'
Using MetaMask
- Click the little fox emblem at the top right of your browser to open up MetaMask
[[File: |center|750px]]
- From the main screen you are able to send/deposit Ethereum, see your recent history and see your current network.
Changing Ethereum Networks
- If you click on the 'Main Ethereum Network' dropdown, you can see the different networks that you can connect to.
[[File: |center|750px]]
You are given several testnet options to choose from for testing smart contracts without using real Ether:
Depositing Ethereum
- You can buy Ethereum from Coinbase. You can follow this guide to set up an account on Coinbase.
- Once you have bought Ethereum, go to the 'Accounts' tab in Coinbase and click 'Send' by your Ethereum address. Copy in your MetaMask address and click 'Send'.
- You can copy your Ethereum address from MetaMask by clicking the 'Account 1' near the top of the page. Your Ethereum address will automatically be copied to your clipboard.
[[File: |center|750px]]
