Difference between revisions of "How to use MetaMask"
From CoinWiki
(→Using MetaMask) |
(→Using MetaMask) |
||
| Line 29: | Line 29: | ||
* From the main screen you are able to send/deposit Ethereum, see your recent history and see your current network. | * From the main screen you are able to send/deposit Ethereum, see your recent history and see your current network. | ||
| − | [[File: Metamask-extension-home.png|center| | + | [[File: Metamask-extension-home.png|center|350px]] |
=== Changing Ethereum Networks === | === Changing Ethereum Networks === | ||
* If you click on the 'Main Ethereum Network' dropdown, you can see the different networks that you can connect to. | * If you click on the 'Main Ethereum Network' dropdown, you can see the different networks that you can connect to. | ||
| − | [[File: Metamask-extension-networks.png|center| | + | [[File: Metamask-extension-networks.png|center|350px]] |
You are given several testnet options to choose from for testing [[Smart contracts | smart contracts]] without using real Ether: | You are given several testnet options to choose from for testing [[Smart contracts | smart contracts]] without using real Ether: | ||
| Line 48: | Line 48: | ||
* You can copy your Ethereum address from MetaMask by clicking the 'Account 1' near the top of the page. Your Ethereum address will automatically be copied to your clipboard. | * You can copy your Ethereum address from MetaMask by clicking the 'Account 1' near the top of the page. Your Ethereum address will automatically be copied to your clipboard. | ||
| − | [[File: Metamask-extension-copy.png|center| | + | [[File: Metamask-extension-copy.png|center|350px]] |
=== Sending Ethereum === | === Sending Ethereum === | ||
=== Adding ERC20 tokens === | === Adding ERC20 tokens === | ||
Revision as of 16:26, 28 March 2019
This is a guide on how to setup and use the MetaMask browser extension.
Contents
Installation
- Go here to go to MetaMask's main page and click the 'Get Extension' button.
- Next click the 'Add to Chrome' button to add the extension to your browser.
- You should see the extension added to the top right of your browser.
Setting up MetaMask
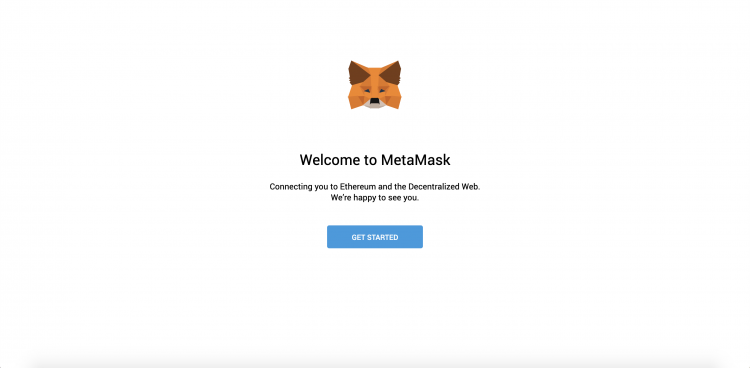
- Once the extension is added you will be brought to the MetaMask start page. Click 'Get Started' to begin.
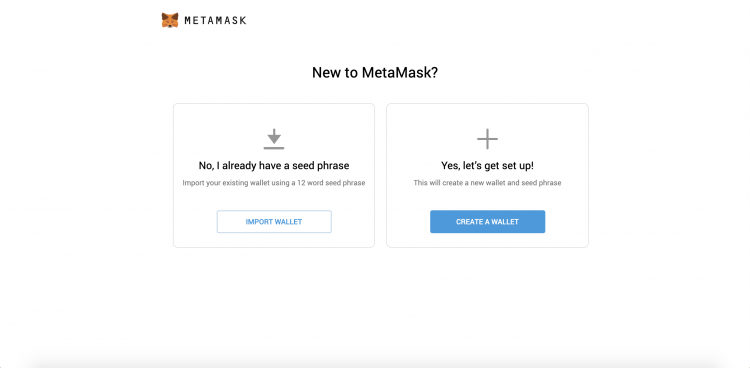
- Next click 'Create a Wallet'. You will be asked if it's of for MetaMask to gather analytics from your use. You can go ahead and press 'No Thanks'.
- You will then be prompted to create a password. Enter your password, confirm it , check the 'terms of use' box and then press 'Create'.
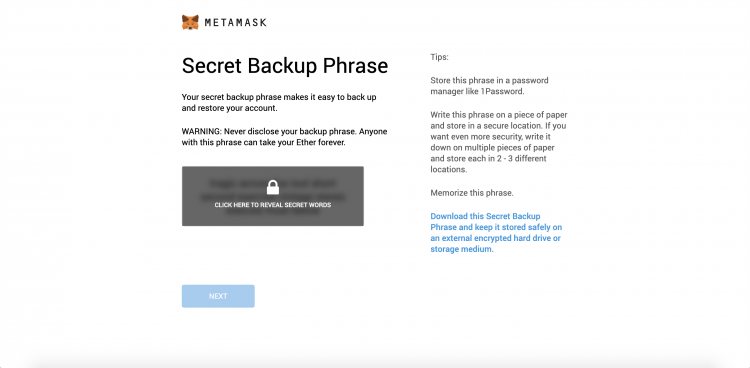
- Next you will need to copy down the secret backup phrase. Make sure to store it in a safe place!!
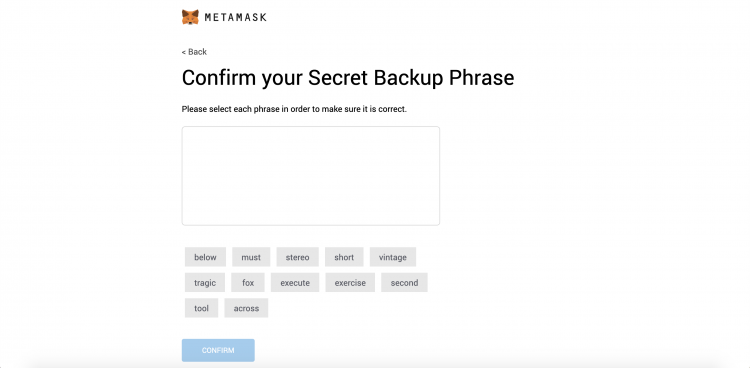
- On the next page you will have to confirm your seed phrase. Click the words in the order of your phrase. Then click 'Confirm' then click 'All Done'
Using MetaMask
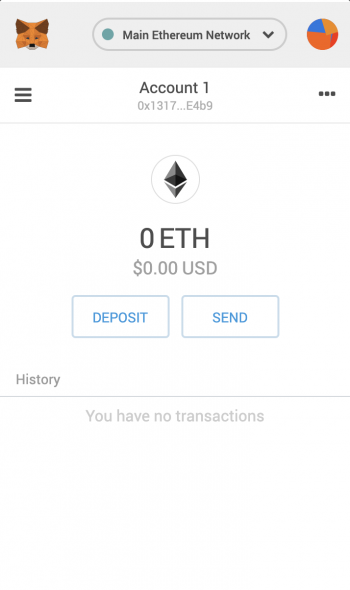
- Click the little fox emblem at the top right of your browser to open up MetaMask
- From the main screen you are able to send/deposit Ethereum, see your recent history and see your current network.
Changing Ethereum Networks
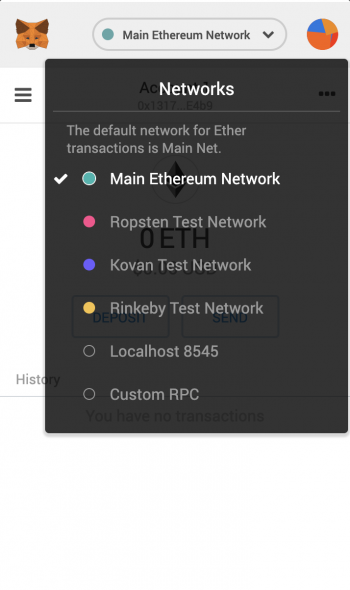
- If you click on the 'Main Ethereum Network' dropdown, you can see the different networks that you can connect to.
You are given several testnet options to choose from for testing smart contracts without using real Ether:
Depositing Ethereum
- You can buy Ethereum from Coinbase. You can follow this guide to set up an account on Coinbase.
- Once you have bought Ethereum, go to the 'Accounts' tab in Coinbase and click 'Send' by your Ethereum address. Copy in your MetaMask address, type the amount that you would like to send and then click 'Send' once you're done.
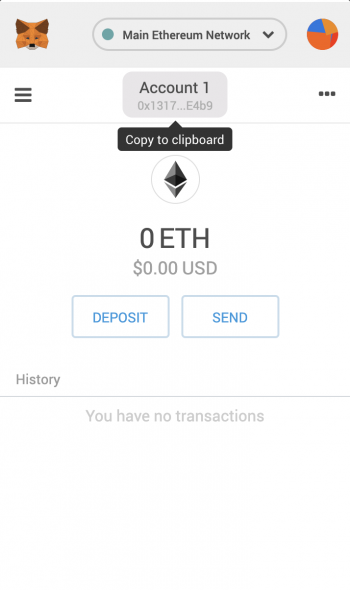
- You can copy your Ethereum address from MetaMask by clicking the 'Account 1' near the top of the page. Your Ethereum address will automatically be copied to your clipboard.
