How to create your own mining pool
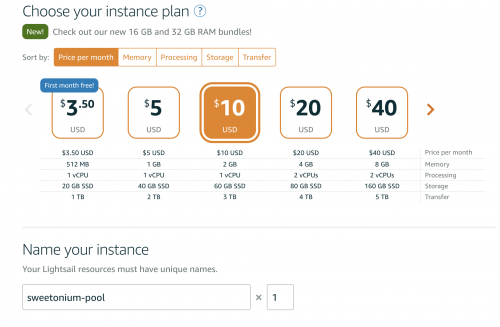
Setting a mining pool is similar to setting up one of your seed nodes. For the pool, we will be using a $10 / month instance on Amazon Lightsail.
Contents
Create Pool Instance
- Click on the "Create Instance" button.
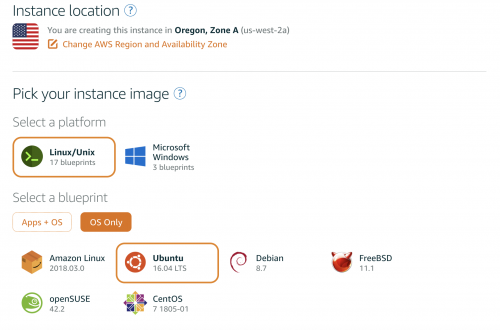
- Select "OS Only", choose Ubuntu and name your instance something meaningful.
- Click on the instance for your pool and create a static IP for it.
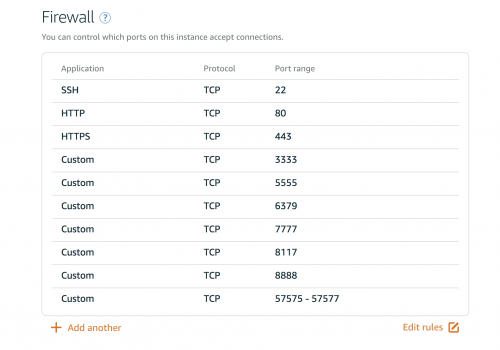
- Open the following ports under networking:
Install Dependancies
sudo apt-get install aptitude
sudo aptitude update
sudo aptitude install –with-recommends build-essential autotools-dev autoconf automake libcurl3 libcurl4-gnutls-dev git make cmake libssl-dev pkg-config libevent-dev libunbound-dev libminiupnpc-dev doxygen supervisor jq libboost-all-dev htop
apt-get install build-essential libtool autotools-dev autoconf pkg-config libssl-dev
apt-get install libboost-all-dev git npm nodejs nodejs-legacy libminiupnpc-dev redis-server
add-apt-repository ppa:bitcoin/bitcoin
apt-get update
apt-get install libdb4.8-dev libdb4.8++-dev
curl -sL https://raw.githubusercontent.com/creationix/nvm/v0.31.0/install.sh -o install_nvm.sh
bash install_nvm.sh
- After npm is installed you will have to log out and then back into your instance and continue installing dependancies.
source ~/.profile
nvm install 0.10.48
nvm use 0.10.48
nvm alias default 0.10.48
nvm use default
- Install Apache2 for hosting the front end.
sudo apt-get update
sudo apt-get install apache2
- Adjust firewall to allow Apache full.
sudo ufw app list
sudo ufw allow 'Apache Full'
Install Forknote
- Download the Linux CLI version of Forknote from the Forknote download page. You can use wget from the command line like so:
wget https://github.com/forknote/forknote/releases/download/2.1.2/forknote-linux.tar.gz
- Extract the archive.
tar -xzf forknote-linux.tar.gz
- Change into the forknote-linux directory:
cd forknote-linux
- Copy your config file into 'sweetonium.conf'
nano sweetonium.conf
Start Forknoted
./forknote-linux/forknoted --no-console --log-level 4 --config-file ./sweetonium.conf --log-file ./sweetonium.log > /dev/null &
Start Simplewallet
- Create a new wallet and make note of the wallet address and view key.
./simplewallet --config-file ./sweetonium.conf
- Type 'exit' and run the following code
./simplewallet --config-file ./sweetonium.conf --wallet-file <wallet_name> --password <wallet_password> --rpc-bind-port 57577
Setup and install pool software
git clone https://github.com/forknote/cryptonote-universal-pool.git pool
cd pool
npm update
Pool Configuration
- Copy config_example.json to config.json
cp config_example.json config.json
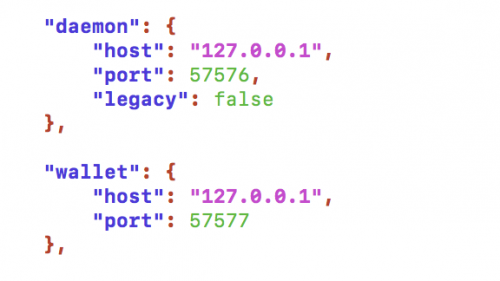
- Edit config.json to match your coin's configuration
This is important! Damon port must equal your rpc-bind-port and wallet port must equal the port you started simplewallet with. You can leave the API port alone.
Start Pool
node init.js
Host the front end
To host the front end we will need to copy everything in the website directory into the html directory
sudo cp -rf admin.html config.js custom.css custom.js index.html pages/ themes/ /var/www/html
You can see your website by looking up your pool's IP address in a browser
Customizing your website
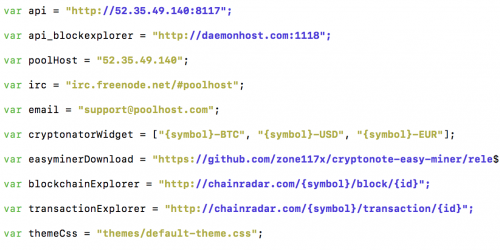
- Go into the html directory and edit config.js with your pool's IP
cd /var/www/html
sudo nano config.js
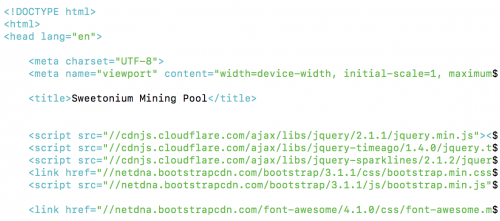
- Go into index.html to change the name of your mining pool
sudo nano index.html
Optional
- Edit custom.css to create your own pool's style
- Edit custom.js for changing the functionality of your pool's website
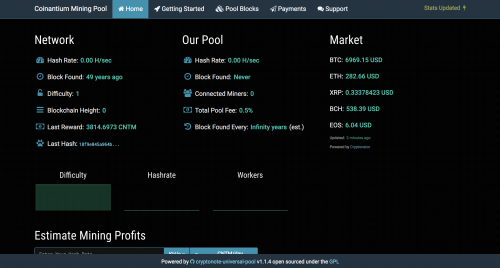
This is an example of what your website can look like:
