Difference between revisions of "How to create your own cryptocurrency"
(→Create Your Instances) |
|||
| Line 6: | Line 6: | ||
=== Create Your Instances=== | === Create Your Instances=== | ||
| − | *Go to [https://lightsail.aws.amazon.com], if you do not have an account you'll need to create one. | + | *Go to [https://lightsail.aws.amazon.com Amazon's Lightsail], if you do not have an account you'll need to create one. |
*Click on the "Create Instance" button. | *Click on the "Create Instance" button. | ||
[[File:Screen Shot 2018-01-05 at 7.57.44 PM.png|300px]] | [[File:Screen Shot 2018-01-05 at 7.57.44 PM.png|300px]] | ||
Revision as of 18:10, 6 January 2018
Getting Started
One of the easiest ways to get your own blockchain up and running is with ForkNote, a CryptoNote blockchain fork with easy to setup configuration files. In this tutorial I make a few assumptions; mostly that you are comfortable on the Linux command line, know how to use tools like SSH, and have a basic understanding of networking and computing terminology.
Creating your Seed Nodes
Before you can create your blockchain you're going to need seed nodes, basically the place where all other nodes are going to look so that they can update their own chain and find other peers. You'll need a minimum to two seed nodes to start. For our purposes, we're going to be using $5 / month instances on Amazon Lightsail.
Create Your Instances
- Go to Amazon's Lightsail, if you do not have an account you'll need to create one.
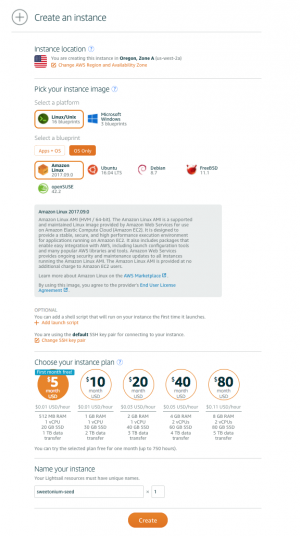
- Click on the "Create Instance" button.
- Select "OS Only", name your instances something meaningful, and create two them.
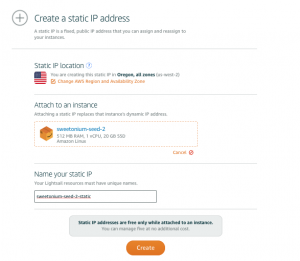
- Now we'll need to configure some network options like opening up the ports our nodes will use and adding static IP addresses. Click on your first instance and create a static IP for it.
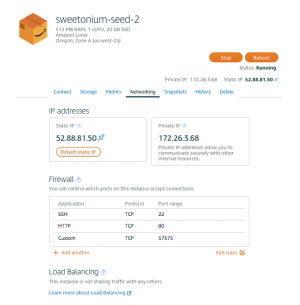
- Go back to your home screen, select the same instance, and go into networking. Open TCP port 57575. You can use whatever port you want but for this tutorial this is what we'll be using
- Now do the exact same thing to your other instance.
- Make a note of the two static IP addresses because we will be needing those for our configuration file. You might also need to download your private key from the connect section of your instance because we will use that to login. You can also use the "Connect using SSH" button from the connect section if you'd rather not mess around with keys, SSH apps, etc.
Setting Up Your Local Node
Creating your local node is exactly the same as setting up your seed nodes, except this is where we will also be creating our wallet and doing our mining.


